
Learn how to save time sound editing with these helpful Pro Tools shortcuts.
Mastering Pro Tools keyboard shortcuts is an essential skill for sound editors and designers that want to work quickly. Speed is not the ultimate goal, of course, but with the speed that comes from an obsession with keyboard shortcuts you are able to realize your ideas more quickly.
When these shortcuts make their way into your muscle memory, your hands react to your ideas with very little thought or effort. This reduces the cumbersome yet necessary technical aspects of Pro Tools (or any software for that matter), and allows you to focus on what’s most important as a sound editor: storytelling.
Watch the video above and explore the blog post below to learn more.
0:00 — Intro
2:45 — Basic Navigation
10:58 — Basic Editing
16:23 — Adjusting and Moving Clips
23:50 — Clip Gain
30:24 — Create Custom Shortcuts
 Video by:
Matt Yocum
(Devotion, The Last of Us)
 Article by:
David Forshee
(Knock at the Cabin)
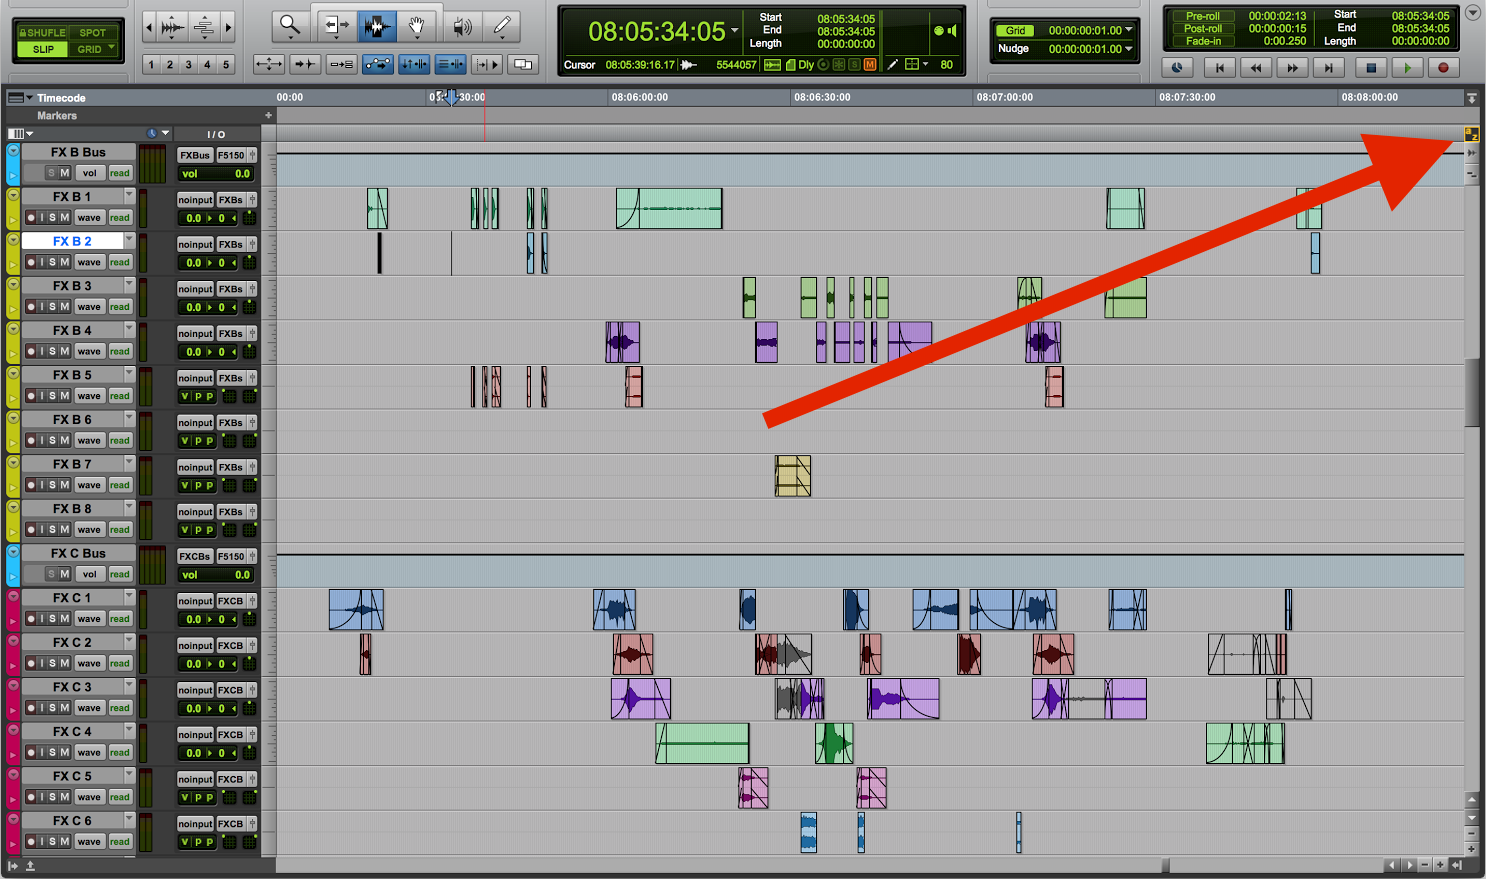
1. Single-Key Trim Clip & Fade: Keyboard Focus “Home Keys”
Okay, this is technically a bunch of keyboard shortcuts in one, but to me this is THE most important set of shortcuts, and a great starting point.
Keyboard Focus mode (click the little "az" icon in the top right corner of the edit window - see screenshot) enables a set of single-key shortcuts.
My “home position” in the left hand is generally as you learn in typing class: A, S, D, F
The first two are logically placed in our “home” row and are two of the most frequently-used shortcuts:
A - Trim Clip Start to Cursor
S - Trim Clip End to Cursor
The next three shortcuts are fades-related:
D - Fade In from Start of Clip to Cursor
F - Crossfade (without Dialog)
G - Fade Out from Cursor to End of Clip
It’s also important to note that all of these shortcuts work across many tracks. This makes trimming or fading many clips when editing backgrounds a breeze. When you begin to explore the rest of the Keyboard Focus keys you’ll find a plethora of handy shortcuts - like B for separating clips at selection, C and V for copy and paste, “,” and “.” for nudging clips, etc.
2. Adjust Fade Shapes: Cmd+Click & Drag on Fade with Selector Tool
Gone are the days of having to open the fades dialog to make subtle adjustments to fade shapes (hooray!). If you use the Smart Tool (Selector+Grab+Trim Tools combined), you can simply click and drag on a fade to adjust the shape. You can even make fade shape adjustments to groups of clips by selecting multiple clips and adding Shift to the command, i.e. Shift+Cmd+Click & Drag, or simply Shift+Click & Drag with the Smart Tool.
3. Ctrl+Click Clip with Grabber Tool: Move Clips to the Play Position
This is handy for quickly and precisely lining up clips and closing gaps created when deleting a portion of a clip. Some variations on this would be Ctrl+Alt+Click which will create a copy of the clip at the play position, and Shift+Ctrl+Click which will snap the clip sync point to the play position.
Another very common use of this shortcut is to constrain clips to vertical movement when moving clips to another track, therefore maintaining sync.
4. Ctrl+Shift+Up/Down Arrow: Adjust Clip Gain
If I had to pick a favorite shortcut, this might be it. This allows sound editors to essentially premix their work with very little effort.
With a clip or group of clips selected, use Ctrl+Shift+Up Arrow or Down Arrow to adjust clip gain. Personally I never use the arrows, since you can also use the scroll wheel on your mouse to achieve the same results - Ctrl+Shift+Scroll Wheel Up/Down. The beauty of this is you can adjust levels on the fly while leaving the volume lane automation completely clean.
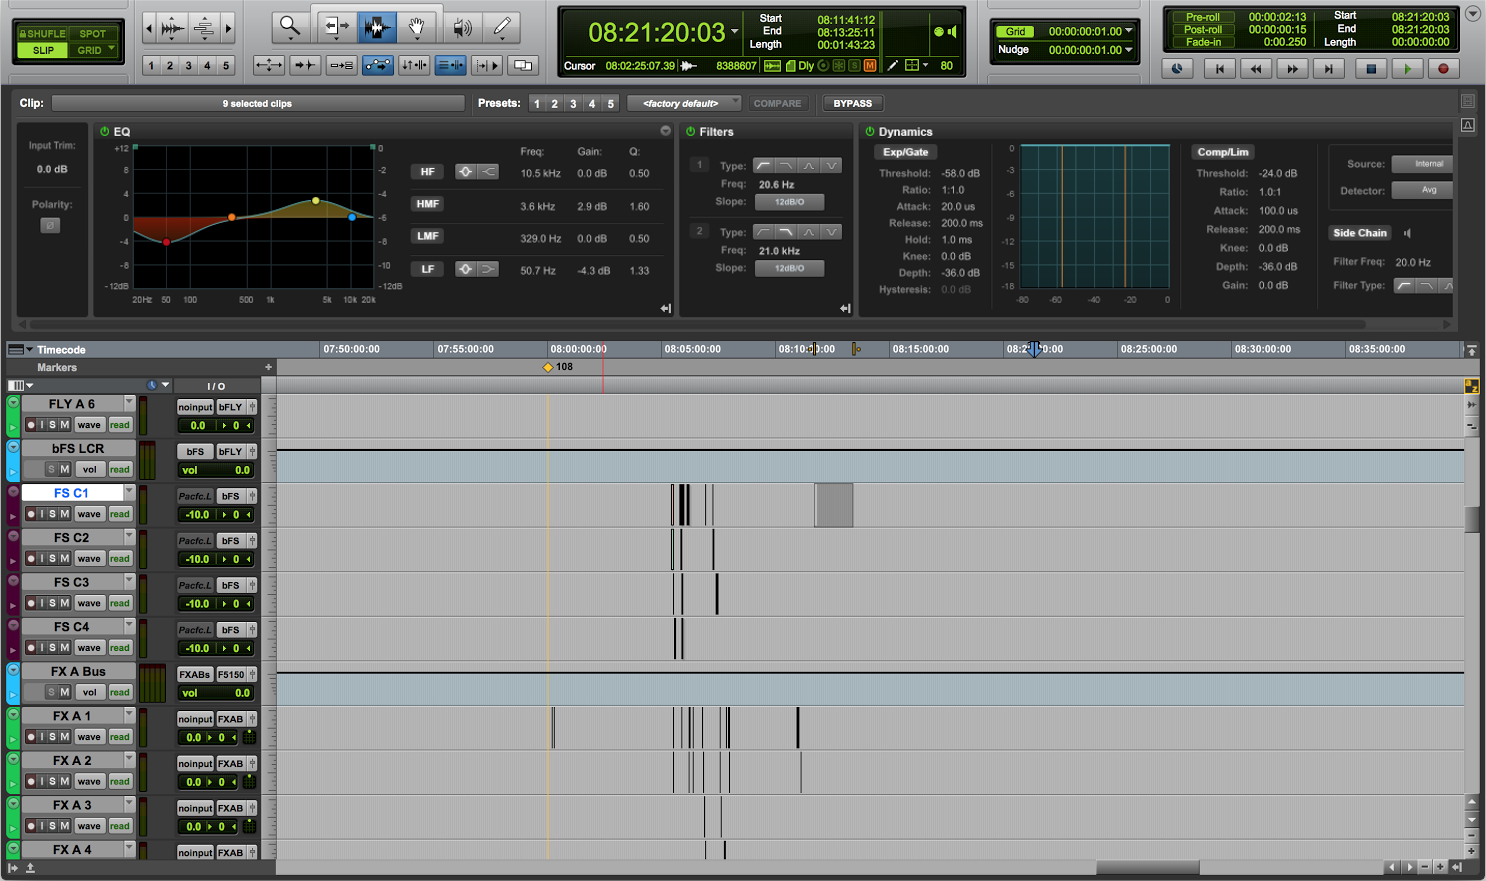
5. Cmd+Control+Effects Preset Number (HD Only): Clip-Based Effects Presets
Since the release of Pro Tools 12.6, real-time clip-based effects became a reality in Pro Tools. This is fantastic for recalling a quick high pass filter on a particularly rumbly ambience, or for a slight high-end boost when necessary.
After creating a few presets in the clip effects display (Opt+6), you can quickly apply these presets to clips by simply selecting a clip (or group of clips) and using Cmd+Ctrl+Clip Effects Preset Number. You don’t even need to open the clip effects display!
6. Mouse/Trackpad Shortcuts: Program Common Commands
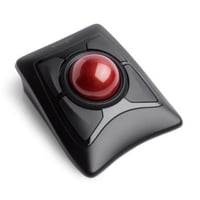
I highly suggest using a customizable mouse or trackball so you can make your most common keystrokes a mouse click away. A lot of editors use the Kensington Expert Mouse, however the trackball never caught on with me. I prefer a gaming mouse - they're affordable, programmable, and have buttons in all the right places. For instance, I've programmed my mouse to include shortcuts for the Selector Tool, Grabber Tool, and Trim Tool (I prefer to not use the Smart Tool). I also have common keystrokes such as “Delete” and “Toggle Volume Lane View” assigned to buttons on the mouse.
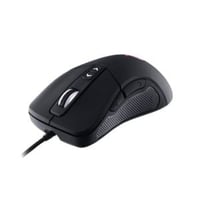
My current mouse of choice is the CM Storm Havoc. Though this specific model has been discontinued, the CM Storm Mizar is a similar model. Most programmable gaming mice will do, and there are plenty of options. Keep in mind that a Windows machine may be required to program your gaming mouse.
Kensington Expert Mouse:
CM Storm Mizar Mouse:
Did we miss any of your favorite Pro Tools shortcuts? Let us know in the comments!