

Find out some of the most efficient ways to enhance the sound and feel of your studio.
As the industry’s schedules and technologies adapt, more post production sound professionals are building their own mixing studios, and therefore have to work within certain limitations. Here are 5 ways to improve the sound of your room.
1. Calibrate Your Monitors
When monitoring in post production, it is very important to consider a reference level for mixing, and then retain this throughout the process. This is to allow your mix to translate better to different systems, as well as to give yourself a reference point for where to position levels for dialogue, music and effects.
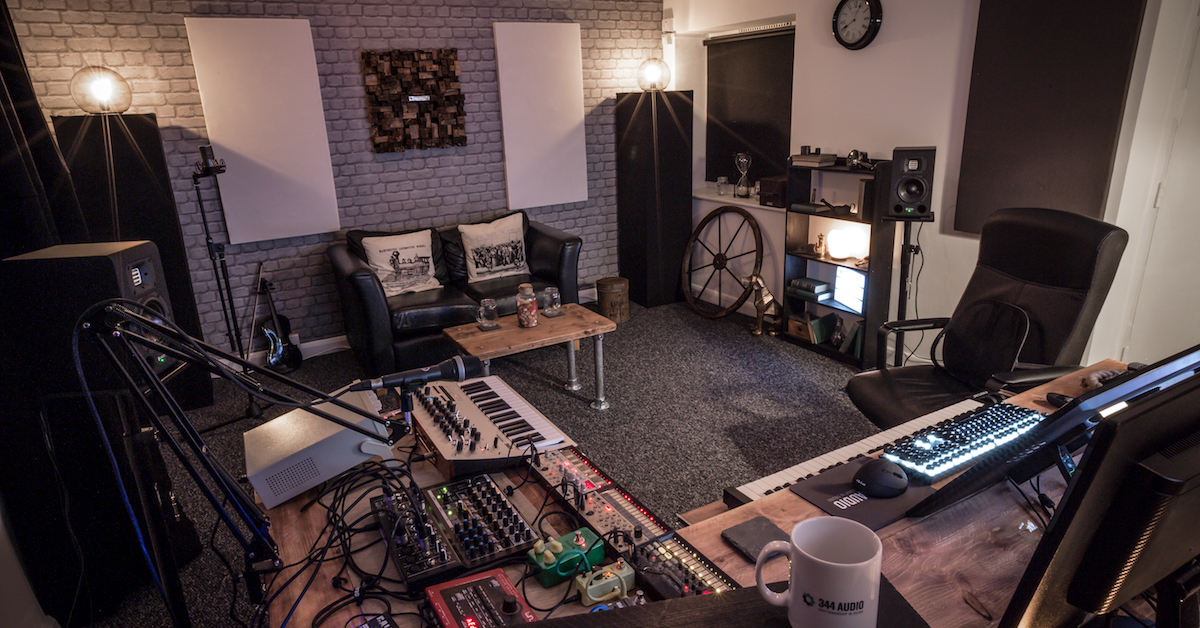
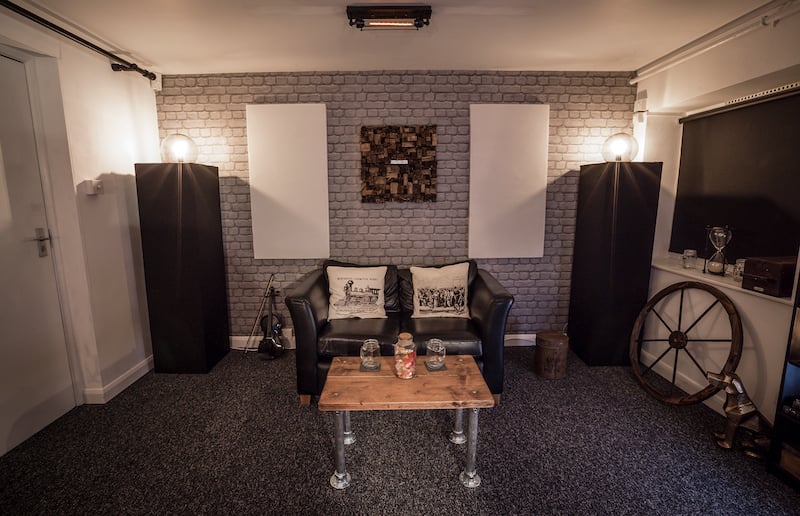
A common reference level for a smaller mixing room (such as The Stephenson Suite at 344 Audio pictured below) is 79dB SPL C weighted. Larger Dubbing theatres are usually calibrated to 85dB SPL C weighted.
You can measure this using an SPL meter, (available from Amazon and many electronics stores), we use this one: SPL Meter. It is very important not to use mobile phone apps for this purpose, as they are incredibly inaccurate. Follow the steps shown in the following video to calibrate your system:
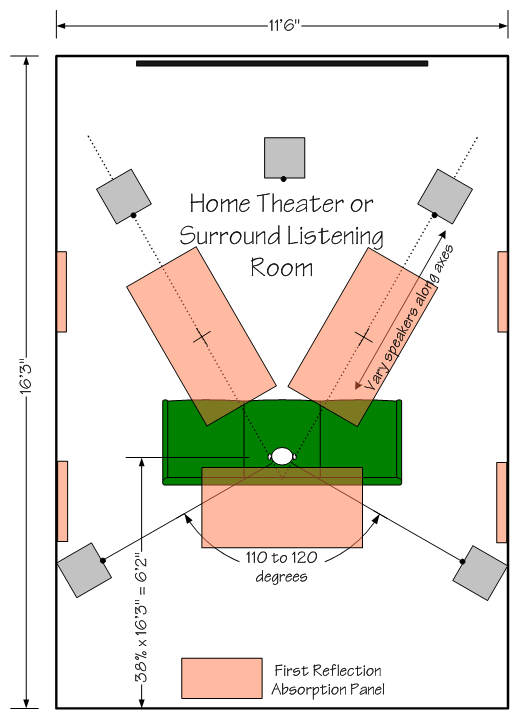
2. Treat Early Reflection Points
The early reflection points in your room tend to pose quite a few problems when mixing. You can build absorbers for walls relatively easily to alleviate this, simply by building a wooden frame, filling it with rock wool slab and then covering it with a breathable fabric. Then simply hang the absorber at each early reflection point, and experiment with positioning until you are happy.
The typical early reflection points can be seen below:
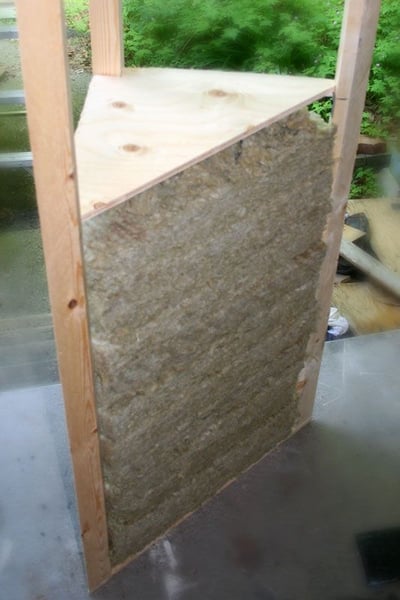
3. Bass Traps and Diffusers
Bass Traps are a staple tool in improving your room sound for post production mixing. The inclusion of a very thick trapping in the four corners of your room, will drastically improve the low end response. Again, build these like the absorbers, but much thicker, and as close to the ceiling height as possible.
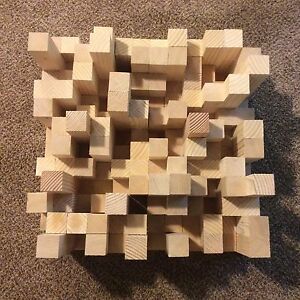
Diffusers can be a great tool in some deeper rooms. They will allow for rear wall reflections to be dispersed more randomly, reducing the nasty metallic delays you may experience in an untreated room. These can be built from the random wood offcuts accumulated whilst building the other treatment.
4. Monitor Choice
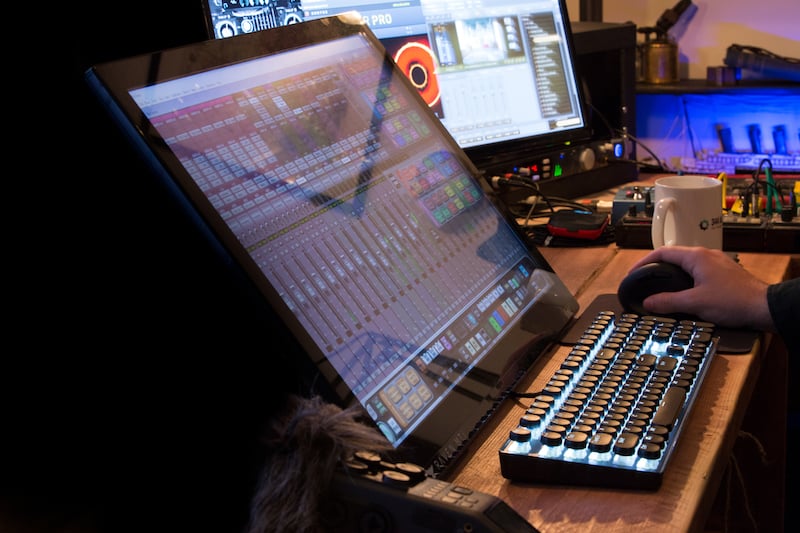
It may seem obvious, but if the above steps have been taken, your monitors will really affect the overall sound of your room, particularly when mixing in surround with near fields. It is very important to go to a store that will allow you to A/B multiple systems, test your own mixes that there, and test music, to really push the limits of the speakers. Some mixers prefer brighter monitors (near field Genelecs are very popular) whilst other mixers prefer a darker sound (the Dynaudio BM range, or HEDD nearfields).
5. Furniture and Complex Surface Shapes
Interior design in your studio not only looks great, but can improve the overall sound of the room. Experiment with the positioning of your studio couch, shelving, or desk to see how your monitoring responds. When building our studios, we noticed a huge improvement in reflections after placing our furniture in the room.
The most important thing to remember is that your studio is yours, so make it sound as good as you can without sacrificing the look and feel of the space. Experimentation is key when taking a DIY approach to acoustics.
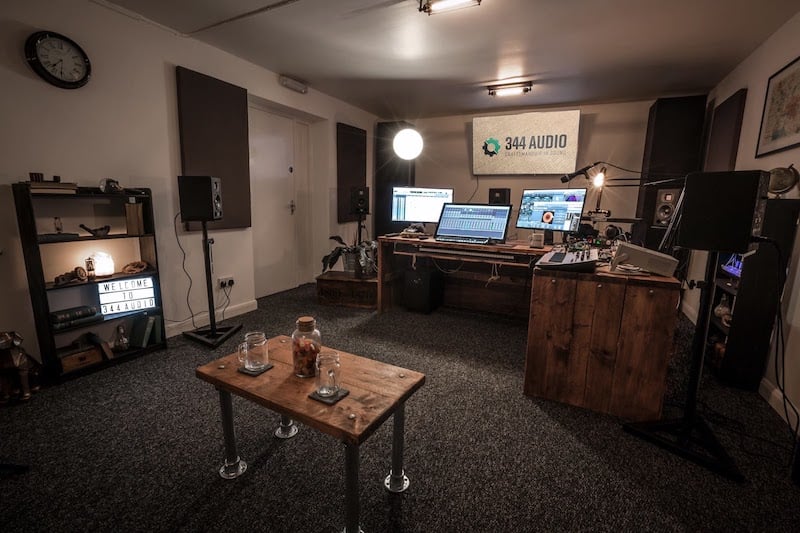
-2.png?width=100&name=staff_162%20(1)-2.png) Thanks to Alex Gregson of 344Audio for sharing these in-depth mixing room design techniques!
Thanks to Alex Gregson of 344Audio for sharing these in-depth mixing room design techniques!
Follow Alex Gregson:
Website: 344Audio.com
Twitter: @344audio