

How to prepare your Pro Tools session for an efficient and easy mix.
After we, as sound editors, create the soundscape for a project, the next stage is mixing. For that we need to take some steps to help the mixer have a smooth and easy mix, so they can concentrate on mixing instead of fixing and reorganizing the session. Here are some tips to make this transition as seamless as possible and keep the gigs coming your way.
1. Talk to your mixer
This one is a bit obvious, but it is the most essential one that gets overlooked. The most important thing about working as a team in post sound is to communicate with all the parts involved with the process. Talking to your mixer or supervisor about how they wants the session laid out before you start your editorial process, will help you deliver a session for the mix that will be easily understood by the mixer and they will spend more time mixing than figuring out your session.
There are times when they have a specific template they want you to use, but sometimes they would rather have you create your own, following certain guidelines. Simply asking beforehand is a great sign of a good editor. That way you anticipate the mixer's needs and they can spend more time being creative and not re-organizing the session.
2. Keep your session organized
A great editor is always one step ahead and thinks like a mixer while they're editing. You always have to think of the most efficient way your editorial is going to be mixed. The following are a couple of points you should check before turning over your material to the mix stage:
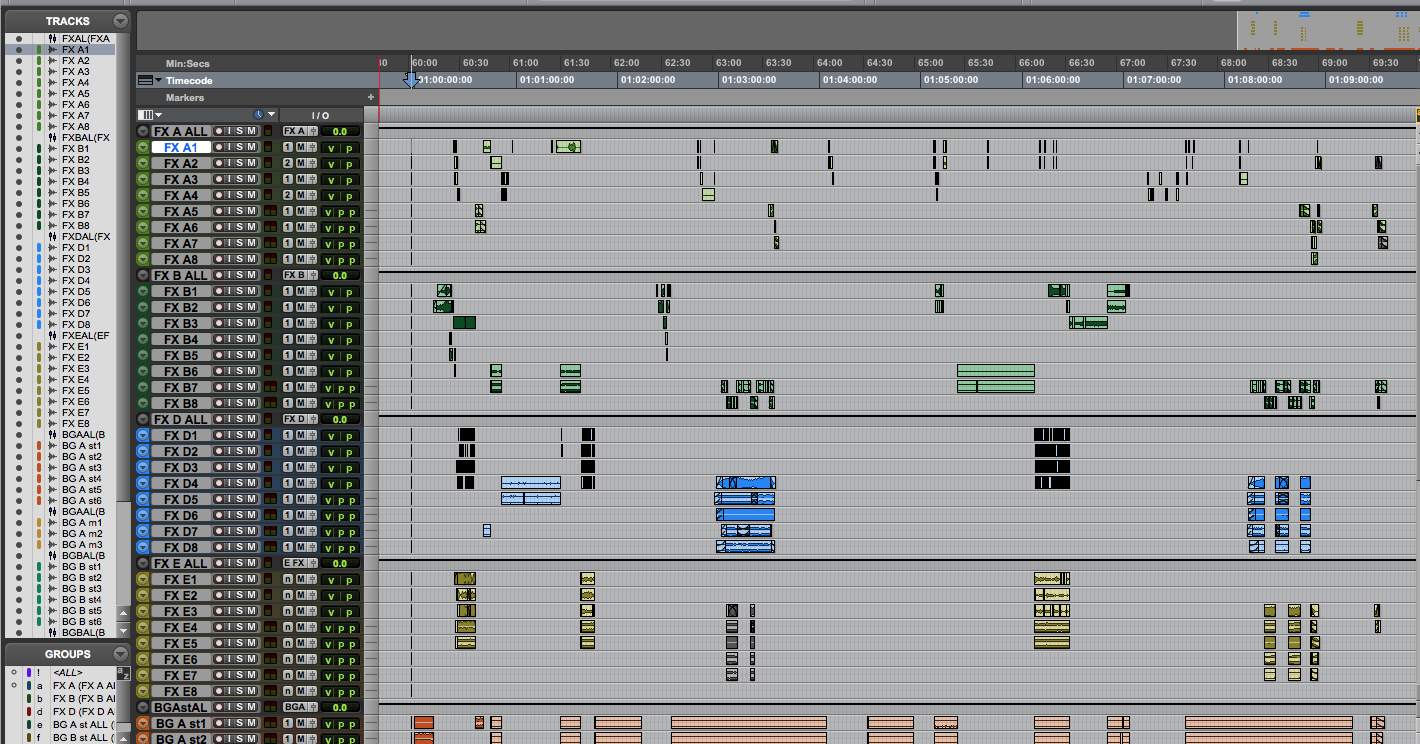
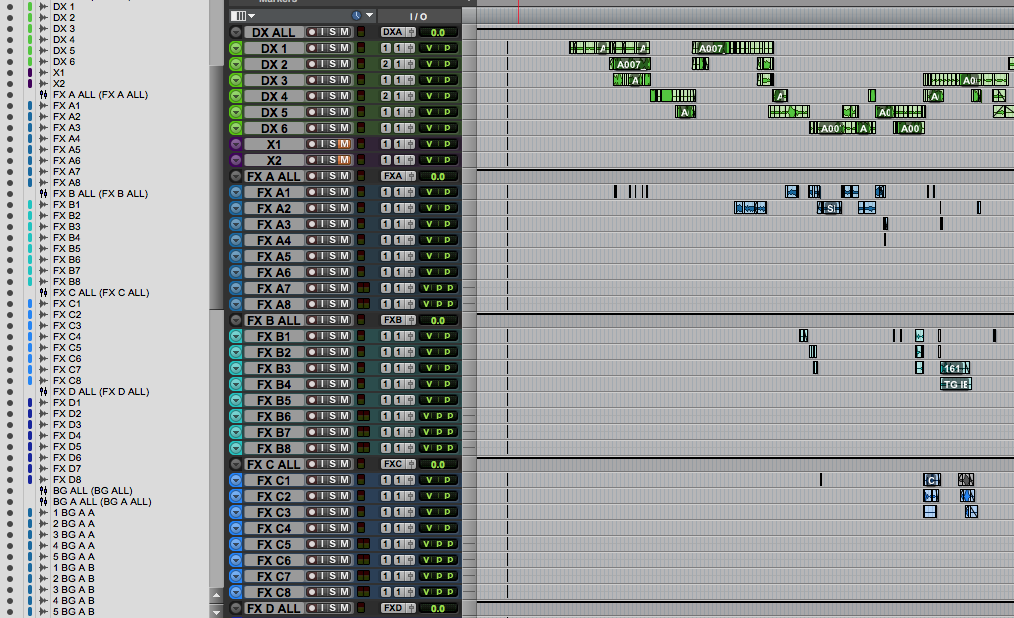
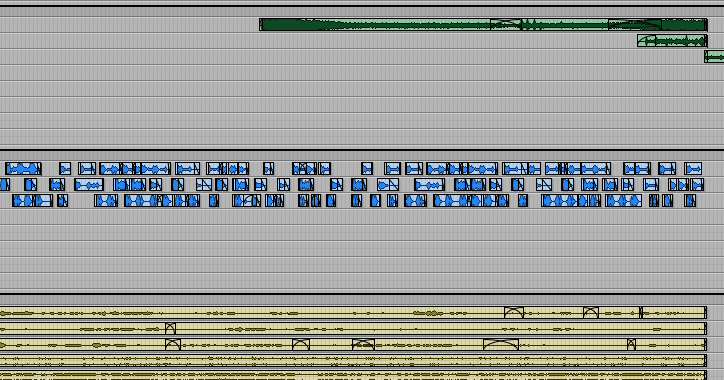
Label and color-code your tracks in a way that is easily recognizable.
- The mixer should be able to distinguish between all the elements of your editorial session, by just looking at it. Labeling tracks according to what's in each track and color coding these elements separately is a good visual cue for the mixer to quickly know where things go. For example, Dialogue tracks will be labeled DX or DIA, and their tracks will be color-coded light green.
Be consistent.
- Keep repetitive sound effects on the same track. By having the same type of effect or a same/similar sound that repeats itself consistently throughout the project, it helps the mixer to have the same automation and processing throughout the project.
- Keep the same type of FX close together or cut them together into a predub or "food group". That way the mixer has overall control of the whole build.
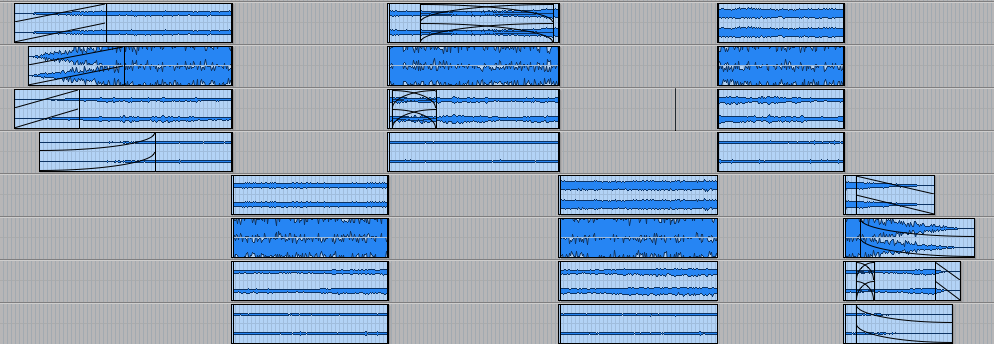
3. Use Perspective Cutting
We cut in perspective when the sound we have on screen changes position or distance from one shot to another. For example, we have a close up of a river and on the next shot we have the same river but from a distant perspective.
By cutting in perspective, we facilitate the mixer to mix this sound properly, and have more control over each perspective by being able to easily pan and change volume accordingly to the scene. Make sure that the same perspective is cut on the same track, so the mixer has the same automation throughout.
For cutting FX in perspective, ask your mixer what their preference is on perspective cutting. Some prefer that you have the different perspectives in different predubs (i.e. close up in Predub A, distant in Predub B), or by checker-boarding in adjacent tracks. This is a subject you should address, as well, before starting to edit, so you don't have to re-organize your session by delivery day.
4. Delineate Elements with Color Coding or Grouping
Another helpful thing is to give your mixer visual cues for the different types of elements within your FX session. This can be done by color-coding some similar colors to what we see on screen to the group of clips that conform one build, or by creating a clip group and re-naming it to what this build represents. Again, you should ask your mixer's preference for this.
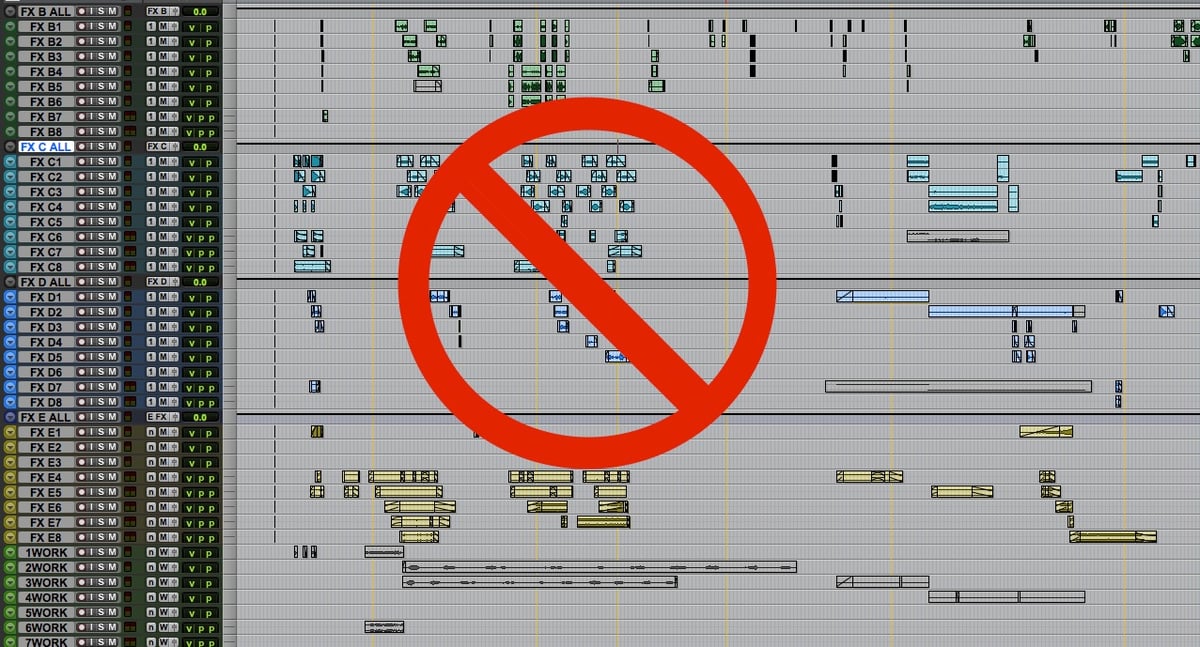
5. Get rid of what's not necessary for the mix
This one is another one that seems obvious, but a lot of mixers will notice if you don't go through it and make them waste mixing time by cleaning out your session or getting distracted by tracks or elements that they should not be using in the mix.
So before delivering, here are things you should make sure to delete:
- Markers, unless you want to leave notes in for your supervisor or mixer.
- "Extra" tracks or work tracks. Any tracks that you use as work tracks to create your builds or that you added to their template without consulting should be deleted. Take in account that when a mixer tells you to use a specific template, it is because their set up probably works with it and adding or deleting tracks in their template can completely change their workflow. This is not a hard wall though, and if you find necessary to add more tracks, make sure to talk to them first. Again, COMMUNICATION is the best tool in our process.
- Any buses the mixer won't use. Like I said in the previous point, the mixer has her/his own set up, so importing the buses that you use on your workflow will only add cluster to their IO.

These are only a few of the key points I try to make sure to have before delivery. That way, once the process hits the mix stage, it runs smoothly and without any hiccups. Then again, everybody has their own way of working and that's why it’s super important to communicate with your team and get ahead of any trouble, so you can all concentrate fully on the story you want to tell through sound.
 Natalia Saavedra Brychcy is a Los Angeles based freelance sound designer working on television and film. Natalia has been a sound effects editor/sound designer for over 4 years, working on a wide array of projects from all over the world.