Sound editing from home or on-the-go? Try these tips for a more streamlined workflow.
Ideally, we are always doing sound editing work on a desktop computer over speakers in a proper edit suite. But there will be times when having a reliable portable rig is incredibly useful and necessary.
Self-isolation or quarantine circumstances aside (hang in there!), inevitably, there are last minute notes and fixes with extremely tight turnarounds. Sometimes, you want the flexibility to be able to work in another environment for a few hours – to stimulate the brain in a different way. And sometimes you simply need to remind yourself that the sun exists!
In fact, for non-critical work, it is possible to work in a coffee shop (or to social distance at your kitchen table where the light is undeniably better), even when you need access to a large sound library.
Here are some tips and tools that have helped us optimize our remote sound editing setups.
Article written by:

David Forshee
Freelance Sound Editor, Designer & Supervisor

John Bowen
Sound Supervisor, ADR Supervisor, Music Editor
Hardware and Space Management
David Forshee: When I first tried working away from the studio on a laptop rig, it was not the slickest setup. I’d sit down, plugin my work hard drive, plugin a sound effects hard drive, plugin my iLok...Oh wait, I’m out of USB ports...unplug the iLok, plugin a USB hub, and so on... This was a very messy setup and required a lot of table space for the drives and cables.
Fast forward a few years - my laptop rig is still not perfect by any means, but a few ideas and solutions have come along that have made my remote sound editing life much easier:
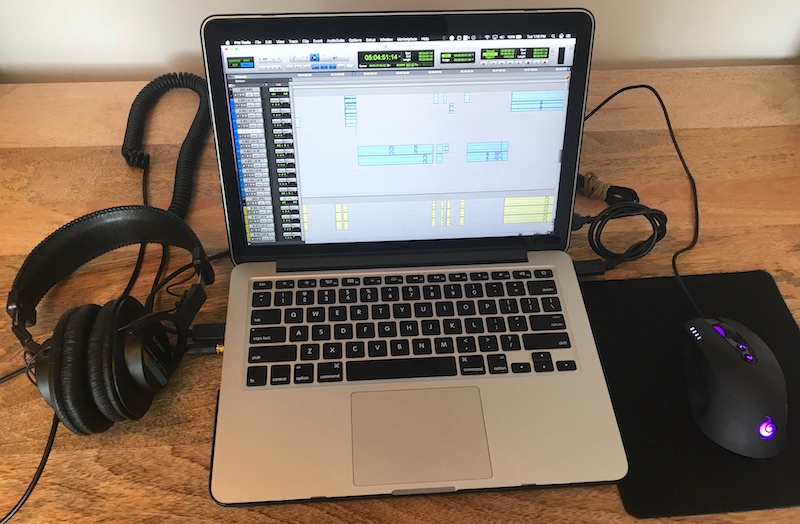
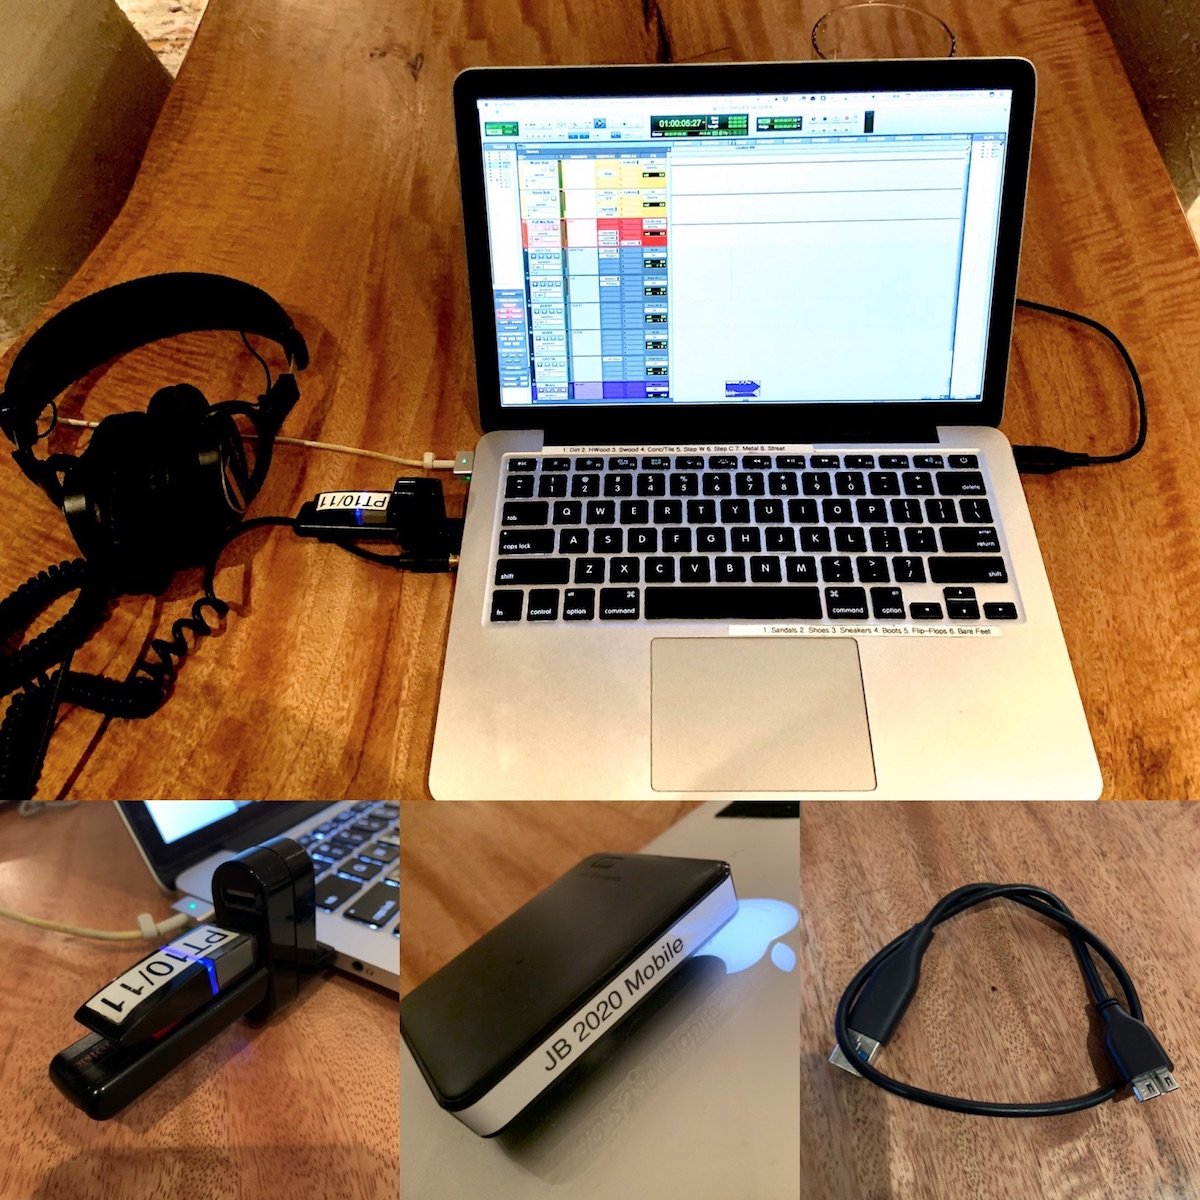
John Bowen: My set-up grew in much the same way that David’s did. I’m comfortable with the trackpad, so I don’t have to worry about dragging the mouse around. Incidentally, you’ll see some P-Touch labels across the top and bottom of my keyboard. These are for speedy Foley spotting. I’ll explain later! Also – I’m looking at this, and realizing it might be time to update that PT10/11 label on my dongle. (Obviously, I was really thinking ahead.)
1. Storage
DF: A portable hard drive large enough to hold your project files and if not all, at least a significant portion of your sound effects library. Many manufacturers have released up to 5TB USB 3.0 portable hard drives. I find this to be fast enough and large enough to handle 90% of the work that I do. If you convert a selection of your sound effects library to FLAC - you will be able to squeeze A LOT onto a single drive, with plenty of room left over for projects.
JB: I began doing this in about 2012/13 with a Seagate 1TB model. I totally trashed the connector within a few months – mainly because I wasn’t unplugging it when I stashed it in my backpack. Lesson learned. I ultimately switched to WD Elements. At the time it was 1-2TB, but now they have up to 5TB, and super affordable. I currently use Carbon Copy Cloner to keep the mobile drive in sync with a mirror drive that’s connected to my desktop, and a third drive that I keep as a back-up. I often use the mobile drive for large picture reference files, so they don’t take up valuable internal space on the laptop. Otherwise, it is reserved for a growing SFX library.
2. Keep it tidy
DF: To make the rig even more portable, I was inspired by my dialogue editor friend John Moros to mount the external USB drive and a USB hub to the back of the screen. This conserves space on your work surface and keeps the cables relatively neat.
If you’re particularly crafty, you may be able to figure this out on your own. But here are a few videos to point you in the right direction:
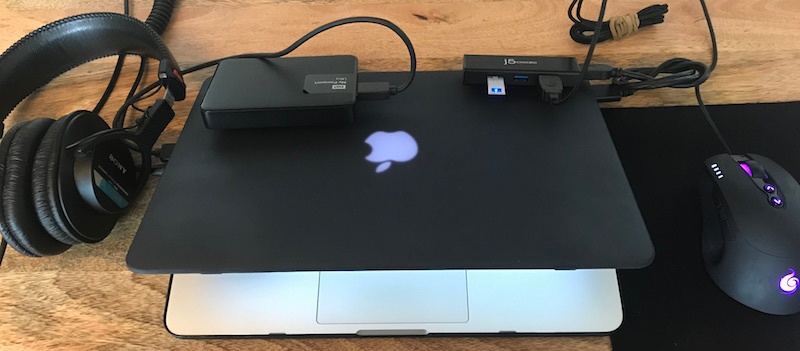
JB: I was an early adopter of the velcro external drive for this reason. I’m not sure why more people aren’t doing it, honestly. I admit it’s a bit of a pain at airports (a lot of inquisitive TSA looks), but still, it’s worth it.
Rather than use velcro for the USB hub, I’m a big fan of this style of USB 3.0 Hubs – 3-4 ports, no fuss, and they live (connected to my dongles) in a side pocket of my backpack along with the hard drive cable.
P-touch labels: I’m totally not OCD about some things. But for some reason, I really like these for items that I know are going to be in service for a while.
3. Headphones
DF: Choosing the right headphones for sound editing is a major consideration for remote work. I prefer the ubiquitous Sony MDR-7506s since they're affordable (thus easy to replace if there’s an accident), and over the years I’ve learned their sonic characteristics very well. Some editors prefer in-ear monitors since you can achieve greater isolation and they're small and easy to carry around (and you can even avoid the notorious “headphone hair” that is symptomatic of long hours of editing with traditional headphones).
JB: I’ve come across varying (strong) opinions about the Sony MDR-7506s. I bought a pair for my mobile rig after destroying 2 or (maybe) 3 pairs of AKG K-240’s in my backpack. (You may be sensing a theme here.) I looked for the most durable set out there, and these came up immediately. I’ve never looked back! I mix podcasts, and do a ton of sound design in coffee shops on them, and they’re great for those things. As far as “headphone hair” goes – it’s not a concern for me!
4. Mouse
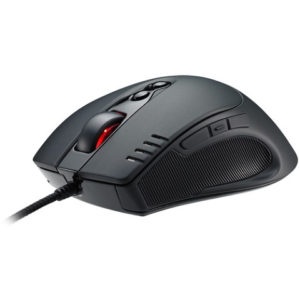
DF: If I’m setting up my laptop for more than an hour or so of work and there’s enough space, I'll also bring along my mouse. I use a programmable gaming mouse (I have a few models from Cooler Master), and always carry a simple mouse pad just in case.
I’ve programmed my mouse to include Pro Tools editing shortcuts for the Selector Tool, Grabber Tool, and Trim Tool (I prefer to not use the Smart Tool). I also have common keystrokes such as “Delete” and “Toggle Volume Lane View” assigned to buttons on the mouse.
JB: I’m okay on the trackpad. (I use a Kensington Trackball with the desktop.) I think part of my mouse-apathy is that I do as much as possible using macros and keystrokes.
5. Second display
DF: Also, if I have a little more room to spread out, I usually bring along my iPad mini to use as a second display via Duet Display. While there is definitely some latency, Duet Display connects via USB (instead of WiFi) making it just fast enough to use the iPad as a video monitor or for meters. I’d always double check sync on a more stable system, but Duet Display will free up some valuable screen real estate on your laptop monitor for the edit window.
JB: I use Keyboard Maestro (more below) to change my picture size from ¼ in the bottom left corner, to full size (not quite fullscreen) in the center. F10/11 are used to trigger AppleScripts that get it done. This is great for checking sync, or any time you need to get a closer look at things when working with limited real estate. I’ve thought about a second display, but coffee shop space is often limited, and I don’t want to be “that guy.”
Software and Efficiency
There are also a few apps that have made aspects of my remote editing life much easier.
6. Backup your work
DF: Resilio Sync (free for individuals) is essentially a Peer-to-Peer version of Dropbox, i.e. no cloud storage, but it will keep folders in sync across multiple machines. I use this to avoid needing to carry a hard drive from the studio to home. I keep my laptop up and running so that it’s constantly syncing work I’m doing in the studio and vice-versa. Not only does this give me peace of mind should there be a catastrophic hard drive failure or fire, it gives me freedom to work anywhere I’d like without thinking about moving files back and forth between machines.
 JB: I’ve been a Dropbox guy for a while. I keep a “Projects” folder which syncs my remote work back to my desktop. On bigger gigs, I’ll do a stripped-down offline build session on the laptop, and then import that into my larger mix session back at the ranch. I send password-protected links to clients, which works great. Folder sharing is a bit of a tangle, so I try to avoid it. A couple films (plus my usual flotsam) used to fill up the 1TB limit, but now that it’s 2TB, I only have to mothball occasionally to an offline drive. (I have a stable of WD Elements drives for hard back-up.)
DropBox doubles as a mid-term cloud back-up, which is great – I’ll admit it’s saved me once or twice! Recently, I’ve scoped out Amazon cloud services, but it seems like a little much for me right now.
7. Custom trackpad gestures and keyboard shortcuts
DF: BetterTouchTool ($4.99+) or BTT allows me to create custom trackpad gestures to speed up my mouseless laptop editing workflow. It allows you to program all sorts of trackpad gestures either on a per-app or global basis. BTT can also create very powerful keyboard shortcuts and macros specifically designed for working on a laptop. It’s a feature-rich app and well worth the price
 JB: Keyboard Maestro (The best $36 you’ll ever spend – but Mac only!) In KM you make Macro Groups that you can turn on and off, and they work in only the applications that you tell them to work in, so you can use optimal keystrokes over and over depending on your task. Here are a few things I do with KM:
- Foley speed-spotting: <F1> – <F12> turns my PT selection into an empty group and names it with a corresponding surface. <opt> <1-9> adds a shoe to the name, enters, and collapses the selection so I can continue. <opt> <a> gives me an empty selection for prop spotting.
- Izotope RX interaction: Sure KM can call Izo Connect (or anything) from a menu, but it can also find any graphic on the screen and click the mouse relative to that. So, <opt><a> finds “send” and presses it. Then in Izotope <opt><z> finds “return.” and then switches you back to PT, where it finds/hits “render”, rolls back, and puts me in play.
- MIDI keyboard for sound design: KM will send MIDI, so I have my function keys mapped like a keyboard (but in 4ths near the center and octaves near the sides for real estate reasons), then combinations of <ctr>, <opt>, and <command> control velocity. I think I may add something to act as a sustain pedal next time I have a moment to tweek.
...This is only about 0.1% of what you can do with KM. I can’t recommend it enough.
8. Numpad shortcuts
DF: Karabiner (free) allows me to use numpad (numeric keypad) shortcuts on a laptop. Specifically, I have Karabiner configured to interpret Fn+Number as the same as pressing that number on a numpad. Since there are so many keyboard shortcuts in Pro Tools that use the numpad, this is a must-have for my Pro Tools workflow.
 JB: Keyboard Maestro again! I’ve made a whole set of laptop-specific hotkeys that mimic the functionality of the numeric keypad on the laptop. Things like setting/recalling a marker, entering a TC number, and certain types of nudging are all triggered by similar keysets to preserve muscle memory.
What tools are you using to be productive on a mobile editing rig?
Let us know in the comments below!
